Event security starts at the registration desk, not the door. A credentialing system tells your staff, at a glance, who's allowed where, and a badge that's easy to fake or easy to lose defeats the purpose before the first session starts. This guide covers how to build an access control system around your credentials, from tiering to the badge stock itself.
What credentialing actually controls
Credentialing is the process of issuing a verifiable badge that maps a person to a defined level of access. It's not just "everyone gets a badge"; it's the rule set behind who gets which badge, and what that badge unlocks. For a single-day meetup, that might be one badge design and an honor system at the door. For a multi-day conference with a trade show floor, VIP sessions, and a speaker green room, it's a layered system that your security staff and volunteers can enforce without needing to memorize a roster.
Pro tip: Print a one-page access matrix (badge type → areas allowed) and laminate a copy for every checkpoint. Volunteers rotate shifts; a visual reference beats trying to remember the rules from a morning briefing.
Building an access tier system
Most events land somewhere between three and six tiers. More than that and your checkpoint staff start guessing.
- General attendee: Access to sessions, the expo floor, and common areas. Your largest badge run, often 90% or more of total attendees.
- Speaker: Everything general attendees get, plus green room and speaker-ready room access. Usually a distinct color or border so session staff can flag them for priority seating.
- Exhibitor: Access to the show floor before doors open for setup and teardown, plus general sessions. Often needs a separate badge stock since exhibitor lists are managed outside your main registration system.
- VIP / sponsor: Lounge access, reserved seating, and sometimes a separate entrance. This tier drives the most requests for custom finishes, like foil stamping and metallic stock, since it's a visible perk sponsors are paying for.
- Staff / crew: Backstage, loading dock, and AV booth access that attendees shouldn't have. Distinct enough that a glance tells security this badge belongs behind the rope, not in front of it.
- Media / press: Session and photo-pit access, sometimes with restrictions on backstage or sponsor areas depending on your press agreements.
Making the badge do the work
Once you've defined tiers, the badge has to communicate them instantly. A security volunteer scanning a crowd from ten feet away doesn't have time to read fine print.
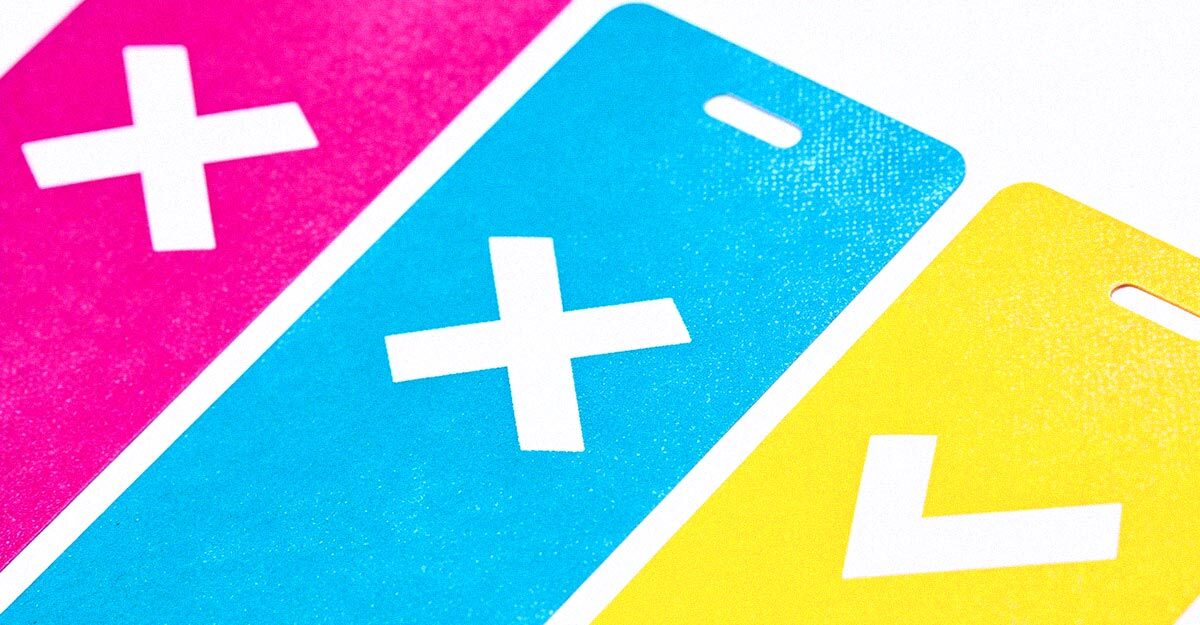
- Color-coding: The fastest visual signal. Assign each tier a distinct background or accent color and keep it consistent across every touchpoint: badge, lanyard, and any signage referencing access levels.
- Printed access zones: List the specific areas a badge unlocks directly on the card ("Expo Floor," "VIP Lounge," "Backstage"). Useful for events with unusual or one-off access areas that a color code alone won't cover.
- QR or barcode scanning: Ties the physical badge to your registration database for real-time check-in and re-entry tracking. Pairs well with a check-in app so staff can verify a badge on the spot instead of trusting the print alone.
- Holographic or tamper-evident overlays: Adds a layer that's difficult to reproduce on a home printer, worth the upcharge for high-security conferences, government events, or anything with a press credential tier.
- Sequential or unique badge IDs: Printing a unique ID number on every badge, 1 through however many you've ordered, whether that's 50 for a regional meetup or 5,000 for a national conference, lets you flag and void a specific badge if it's lost or reported stolen, without reprinting the whole run.
Common credentialing mistakes
Heads up: The most common failure isn't counterfeiting; it's badge reuse. An attendee hands their badge to a friend at lunch so they can "duck in for one session." Sequential IDs paired with a scan-in check-in system catch this; color-coding alone doesn't.
A few other patterns worth avoiding: badges that are visually too similar across tiers (VIP and general attendee in near-identical shades under venue lighting), access rules that live only in an email thread instead of on paper at the checkpoint, and ordering exactly the headcount with no buffer for on-site upgrades, walk-ins, or a reprint after a badge gets damaged.
A credentialing system that staff can enforce at a glance is the real security win: the badge is just the tool that makes it visible.
Frequently asked
How many access tiers should a small event use?
Two or three is usually enough: general attendee, staff, and VIP if you have a sponsor tier. Adding more than that on an event under a few hundred people usually adds complexity without adding real security value.
Do we need different badge stock for each tier, or just different printing?
Different printing (color, text, QR code) is enough for most events. Reserve a different physical stock, like metallic or foil-stamped, or a different card shape, for tiers where the badge itself is part of the perk, like VIP or sponsor.
Can badge access tiers work without a scanning system?
Yes. Color-coding and printed access zones, enforced visually by staff at each checkpoint, cover most single-day and small multi-day events. Scanning earns its cost on larger events where staff can't reliably recognize every badge design or where you need a re-entry log.