
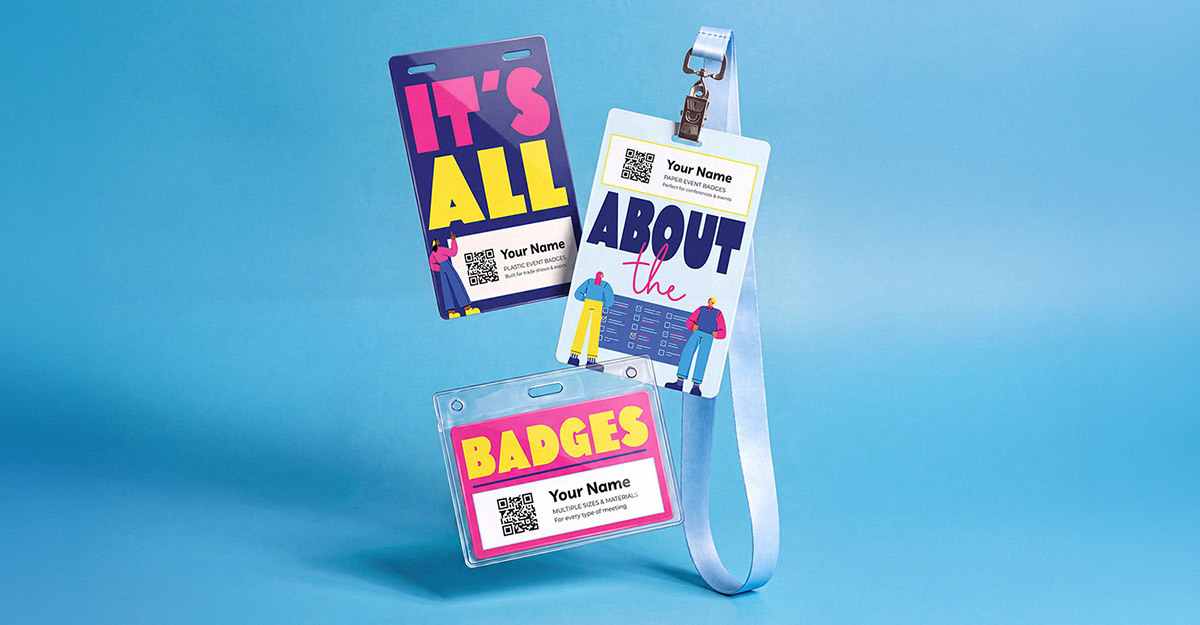
Your badge order used to mean a spec sheet, an artwork file, an attendee spreadsheet, and a few rounds of email before you could see what you were getting. The Billy's Badges online designer puts all of that in one place. You pick your badge or lanyard specs, build the design, merge in your attendee names, and check the result in 3D before you order. Here's how each step works and what to decide along the way.
How the designer works
The online badge designer walks you through three steps:
- Choose your product: Answer a few questions about your badge or lanyard, and the designer sets up a canvas that matches those specs.
- Build your design: Add text, shapes, artwork, and QR codes, then merge attendee names from a data file.
- Preview and export: Check your design in 3D, then save it to update later, share it, or use it for your order.
Step 1: Choose what you're designing
The designer starts by asking whether you're designing badges or lanyards. Your answers shape the canvas, so it helps to know your specs before you start building.
Custom badges
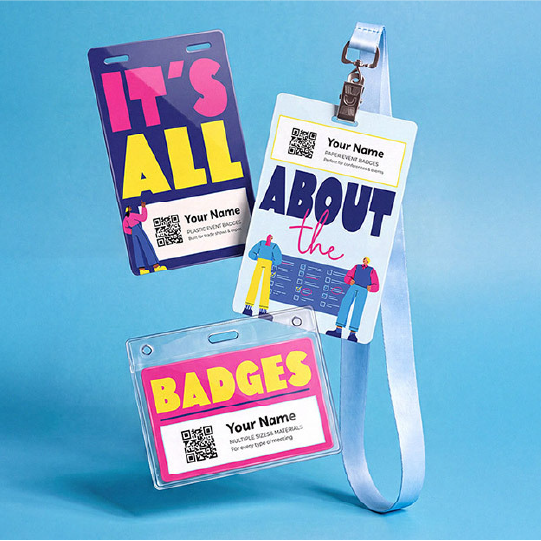
- Material: Choose the badge stock that fits your event, from heavyweight 18 pt paper cardstock to direct thermal or durable 30 mil plastic.
- Size: Set your dimensions. 4x6 is the most popular conference size, with 4x3 and smaller options for staff and crew.
- Printed sides: Print one side or both. Two-sided badges stay readable even when a badge flips on its lanyard.
- Notches: Pick the number of slots you need for attaching a clip or lanyard.
Custom lanyards
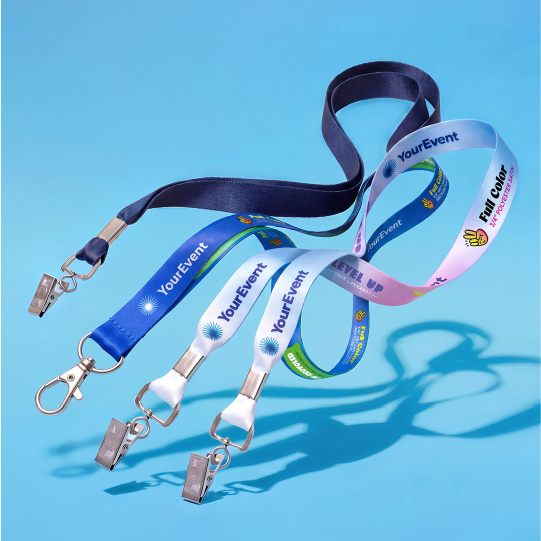
- Ends: Choose single or double ends. Double ends hold a badge at two points, so it hangs straight.
- Width: Choose your strap width. Wider straps give your logo and event name more room.
- Clip: Pick a bulldog clip, which grips the badge directly, or a lobster clip, which hooks through a slot or hole.
- Assembly: Choose crimp or sewn ends to finish the strap.
Not sure which material or width to pick? Order a free sample pack of badges, lanyards, and holders to compare them in hand before you design. Packs ship within 1 to 2 business days.
Step 2: Build your design
Once your canvas is set, everything you need to build your badge sits in one workspace.
- Text and shapes: Add headlines, labels, and color blocks to set up your layout.
- Artwork: Upload your logo and event graphics.
- QR codes: Place QR codes right on the badge for check-in, session scanning, or contact sharing.
- Name merge: Upload a data file, and every badge gets the right name without editing each one by hand.
Pro tip: Clean up your attendee list before you merge. Check that names are spelled and capitalized the way attendees want to see them, and that each field (first name, last name, company, title) sits in its own column. A few minutes of cleanup saves reprints at check-in.
Make the attendee name the largest text on the badge. People read badges from a few feet away, so a clear name does more for networking than a bigger logo.
Step 3: See it before you order
Preview in 3D
Rotate your badge or lanyard to check layout, color, and placement before anything goes to print. The 3D view makes it easier to catch a name that sits too close to a notch or a logo that gets lost on a narrow strap.
Export your design
Save your design to update later, share it with your team for a quick review, or use it for your order. If your speaker list changes the week before your event, you can update the design instead of starting over.
Heads up: Every order still gets a digital proof for your review before production starts, so you can confirm the final details before anything prints.
Your badges are the first thing every attendee holds, and now you can design them, check them, and order them in one sitting.
Frequently asked questions
Can I design both badges and lanyards in the designer?
Yes. Choose badges or lanyards at the start, answer a few questions about your specs, and the designer sets up a canvas to match.
How do I add attendee names to my badges?
Upload a data file with your attendee list and use name merge. The designer places each name on its own badge, so you don't have to edit badges one at a time.
Can each attendee get a unique QR code?
Yes. You can place QR codes in the designer, and Billy's Badges can also generate a unique QR code for each attendee (such as a vCard) from your spreadsheet. All badge types support QR codes.
Will I see a proof before my order prints?
Yes. Every order gets a digital proof for your review before production starts.
How long does production take?
Badges are produced in 5 business days after proof approval, plus shipping. Custom lanyards take 10 to 12 business days after proof approval, plus shipping. Rush production is available at no extra charge; expedited shipping costs more.
What's the difference between a bulldog clip and a lobster clip?
A bulldog clip grips the badge or holder directly. A lobster clip is a hook that attaches through a slot or hole in the badge. Your clip choice and the number of notches on your badge should work together.