
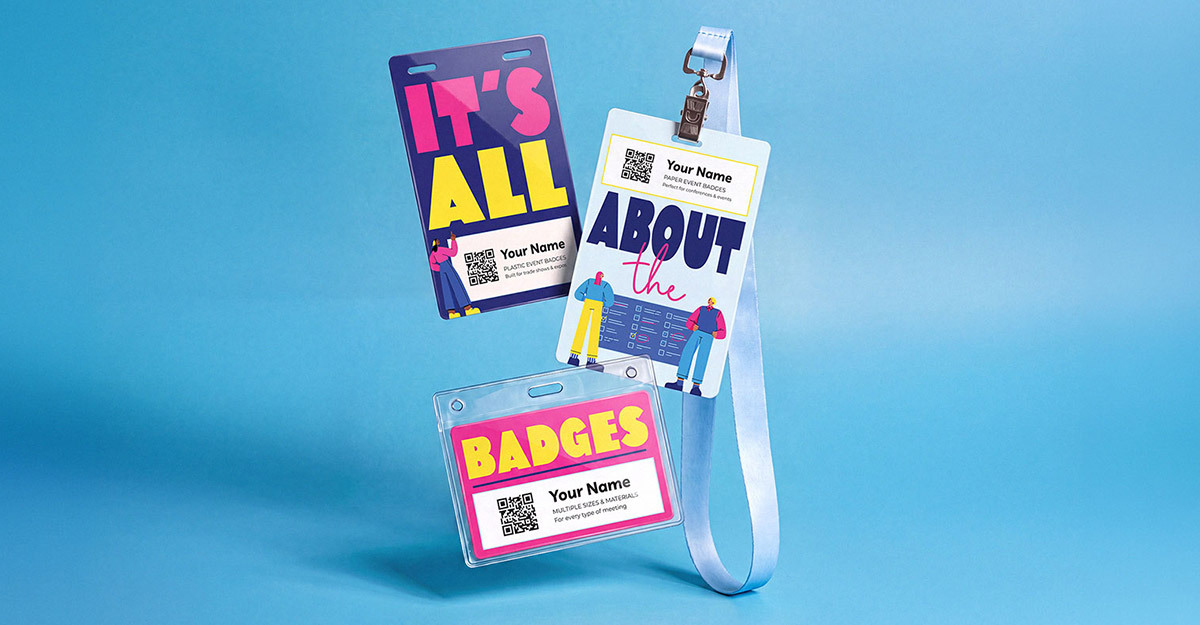
A name tag goes on the right side of your chest, just below the shoulder. When you shake hands with your right hand, the other person's eyes naturally follow your arm up to your right shoulder, so a badge worn there is easy to read in the moment you're introducing yourself. That's the short answer. The rest of name badge etiquette, from lanyards to pronouns to titles, comes down to the same idea: make it easy for people to read your name and use it.
Which side does a name tag go on?
Wear a clip-on, pin-back, or magnetic name tag on the right side, a few inches below the collarbone. Most people instinctively put it on the left because that's where shirt pockets and logo patches sit, and right-handed people find it easier to attach a badge to their left side. But a left-side badge sits on the far side of a handshake, which makes the other person glance across your body to read it.
- Right side: Clip-on, pin-back, and magnetic name tags.
- High on the chest: Just below the shoulder, roughly where a lapel pin would sit, so it's at eye level in conversation.
- Not on a belt or pocket: Badges clipped at the waist or tucked into a pocket can't be read without an awkward downward glance.
- Visible over layers: If you add a jacket or cardigan, move the badge to the outer layer.
How to wear a lanyard badge
Lanyards solve the side question by centering the badge on your chest. The etiquette shifts to height and orientation. A lanyard badge should hang at mid-chest, not down near the waist where it's hard to read. If the lanyard is too long, many attendees tie a small knot behind the neck to shorten it.
Double-sided printing helps more than any etiquette rule: lanyard badges flip around constantly. Printing the attendee's name on both sides means it always faces out. Pairing a custom lanyard with a badge holder that fits snugly also keeps the badge from spinning as much.
Planner tip: If your event uses lanyards and your badge is printed on one side only, put the attendee's name on both sides anyway. It's the single most effective fix for the "badge is always backwards" problem.
What to put on a name badge
Name badge etiquette applies to the badge design as much as to the person wearing it. A badge should answer "who is this?" at a glance and support the conversation that follows. Keep the hierarchy simple:
- First name, largest: The name people will actually use in conversation should be the biggest text on the badge, readable from several feet away.
- Last name, smaller: Included for clarity and networking, but secondary.
- Organization: The company, association, or institution the attendee represents.
- Title or role: Optional, and helpful at professional events where roles shape who talks to whom.
- Location: City and state or country, useful at national and international events as a conversation starter.
This is one reason 4x6 portrait badges are the most popular format at Billy's Badges: the vertical layout leaves room for a large first name without crowding the organization, title, and any color-coded attendee type below it.
Titles and honorifics on name badges
Professional titles like Dr., Rev., or military rank are appropriate on a badge when they're relevant to the event, such as a medical conference or a faith-based gathering. At general business events, many planners leave honorifics off and use the title or credential line instead (for example, "Jane Rivera, MD" or "Director of Clinical Operations").
- Ask, don't assume: Add an optional "name as you'd like it on your badge" field to your registration form so attendees choose how they're addressed.
- Be consistent: If you include credentials for one attendee type, apply the same rule across that group.
- Use preferred names: A preferred first name ("Kate" rather than "Katherine") should be the large name on the badge.
- Keep post-nominals short: Two or three credentials at most; a long string crowds the layout and shrinks the name.
Pronouns on name badges
Many events now give attendees the option to add pronouns to their badges. The etiquette is straightforward: make it optional, let attendees provide them in their own words during registration, and print them in a consistent spot, usually smaller text beneath the name.
Some events offer pronoun stickers at check-in instead. Printing pronouns directly on the badge from registration data tends to look cleaner and keeps attendees from having to make the choice again in a busy check-in line. Either way, the key is that it's the attendee's choice to include them.
Registration tip: Collect badge details (preferred first name, title, pronouns) as separate fields on your event registration form. Separate fields make it easy to map each one to its own spot on the badge when your data file goes to print.
Name badge etiquette for attendees
- Wear it the whole time: Keep your badge on during sessions, meals, and receptions; it's how people remember your name the second time they meet you.
- Take it off outside the venue: Remove your badge when you leave for the day. It's a small privacy and safety habit, especially in a new city.
- Don't cover it: Scarves, bags, and jacket lapels tend to hide badges. Check it's visible before you head into a networking session.
- Read before you greet: A quick glance at someone's badge before you say hello lets you use their name right away.
- Say your name anyway: Even with a badge, introduce yourself out loud; not everyone can read small text quickly.
Name badge etiquette for staff and volunteers
Staff badges carry a slightly different job: they tell attendees who can help. Use a distinct color, a clearly labeled role ("Staff," "Volunteer," "Ask me"), and a size that's easy to spot across a room. Mini badges at 2.125 x 3.375 inches work well for crew who need something compact, while front-of-house staff often benefit from the same larger badge attendees wear, just in a different color.
A well-designed badge, worn in the right spot, does half the work of every introduction at your event.
Frequently asked questions
Which side does a name tag go on?
A name tag goes on the right side of your chest, just below the shoulder. When you shake hands with your right hand, the other person's line of sight follows your arm to your right shoulder, so the badge is easy to read.
Why do people wear name tags on the left?
Mostly habit. Shirt pockets and logos are usually on the left, and right-handed people find it easier to clip or pin something onto their left side. Etiquette guidance still recommends the right side for readability during handshakes.
How high should a lanyard badge hang?
A lanyard badge should hang at mid-chest so it's readable during conversation. If it hangs near the waist, shorten the lanyard by tying a small knot behind the neck.
Should name badges include pronouns?
Including pronouns as an optional field is increasingly common. Let attendees enter them during registration if they choose, and print them in a consistent spot, typically in smaller text below the name.
Should I put titles like Dr. on a name badge?
Include professional titles when they're relevant to the event, such as at medical or academic conferences. Otherwise, a credential or job-title line works well. The best approach is to let attendees choose how their name appears through a registration field.
What's the most important thing on a name badge?
The attendee's first name, printed large enough to read from several feet away. Organization, title, and other details should be secondary so they don't compete with the name.